So continuing with the chess set render I mentioned in the last post, I had a crack at modeling the knight myself but I really struggled to make anything I was happy with. Eventually I decided I’d just follow this tutorial by Phaire3D and was pleased with the result. This tutorial had much better reference images than the one’s I’d been using, and I like to think if I was to try and model this one again from scratch I’d be able to put something decent together.
So the knight tutorial aside, the rest I rendered myself without any other references or tutorials. I experimented quite a bit with the final scene, such as placing the chess board on a glass table with chairs, and using a good looking HDRI for the background and lighting. I kept feeling like I was just taking the emphasis away from the chess set itself though. I wanted the camera reasonably close to the chess set so that the texturing and models are more visible, and everything else just felt like a distraction and that it wasn’t really adding enough to justify keeping it. So I re-used the marble texture I was using for the floor and used it for the table instead, then zoomed in to a decent angle and rendered as is. The HDRI is still being used for the lighting and is what causes the green reflections at the top.
I think it is definitely an improvement on my first effort 3 years ago that you can see here!
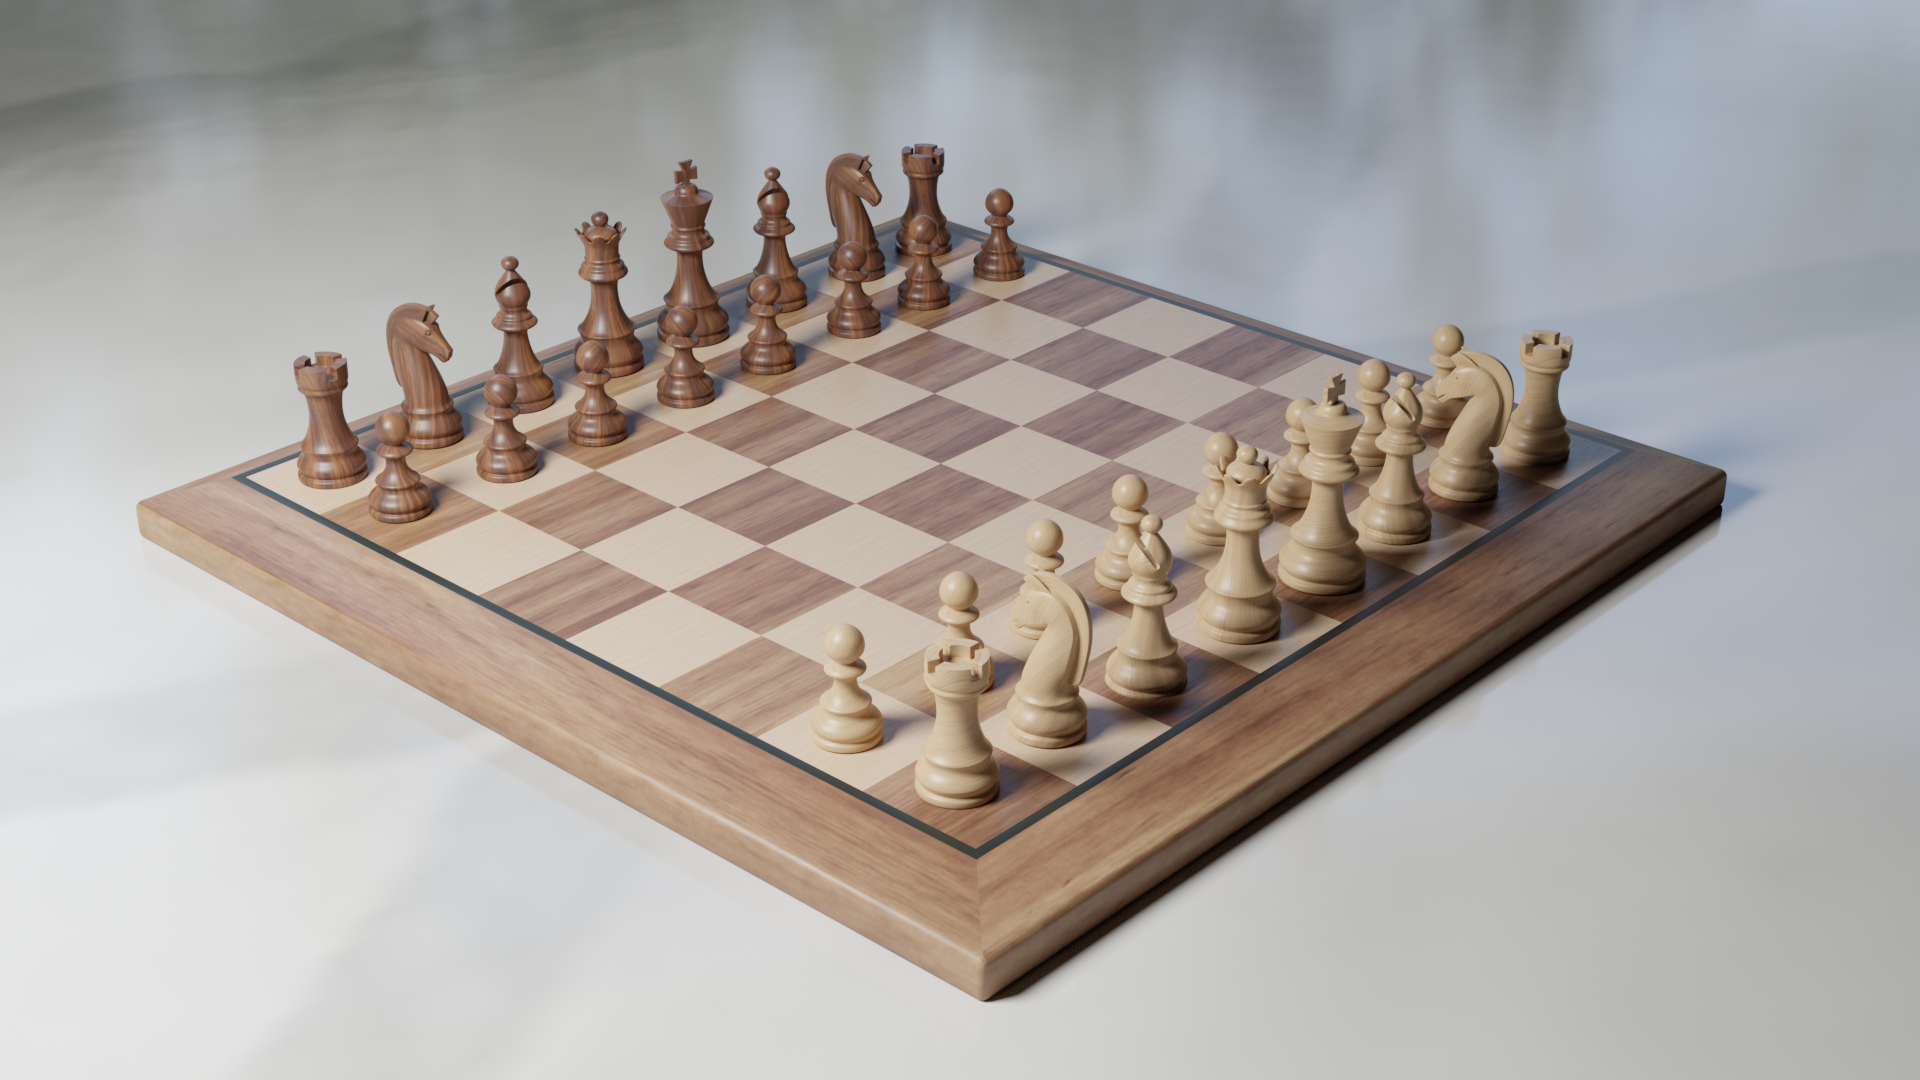
Once again rendered in Cycles with 2048 samples.